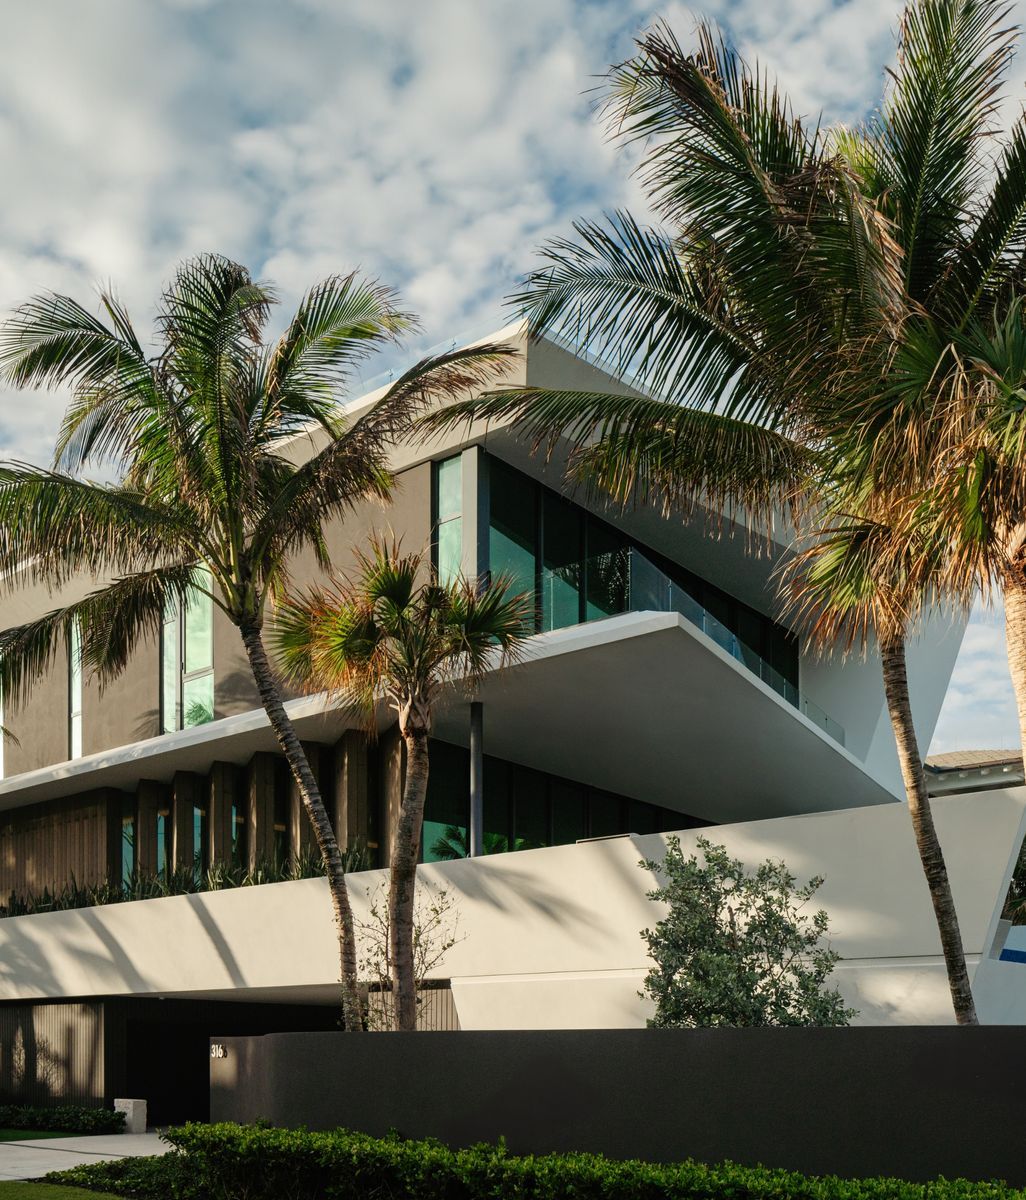
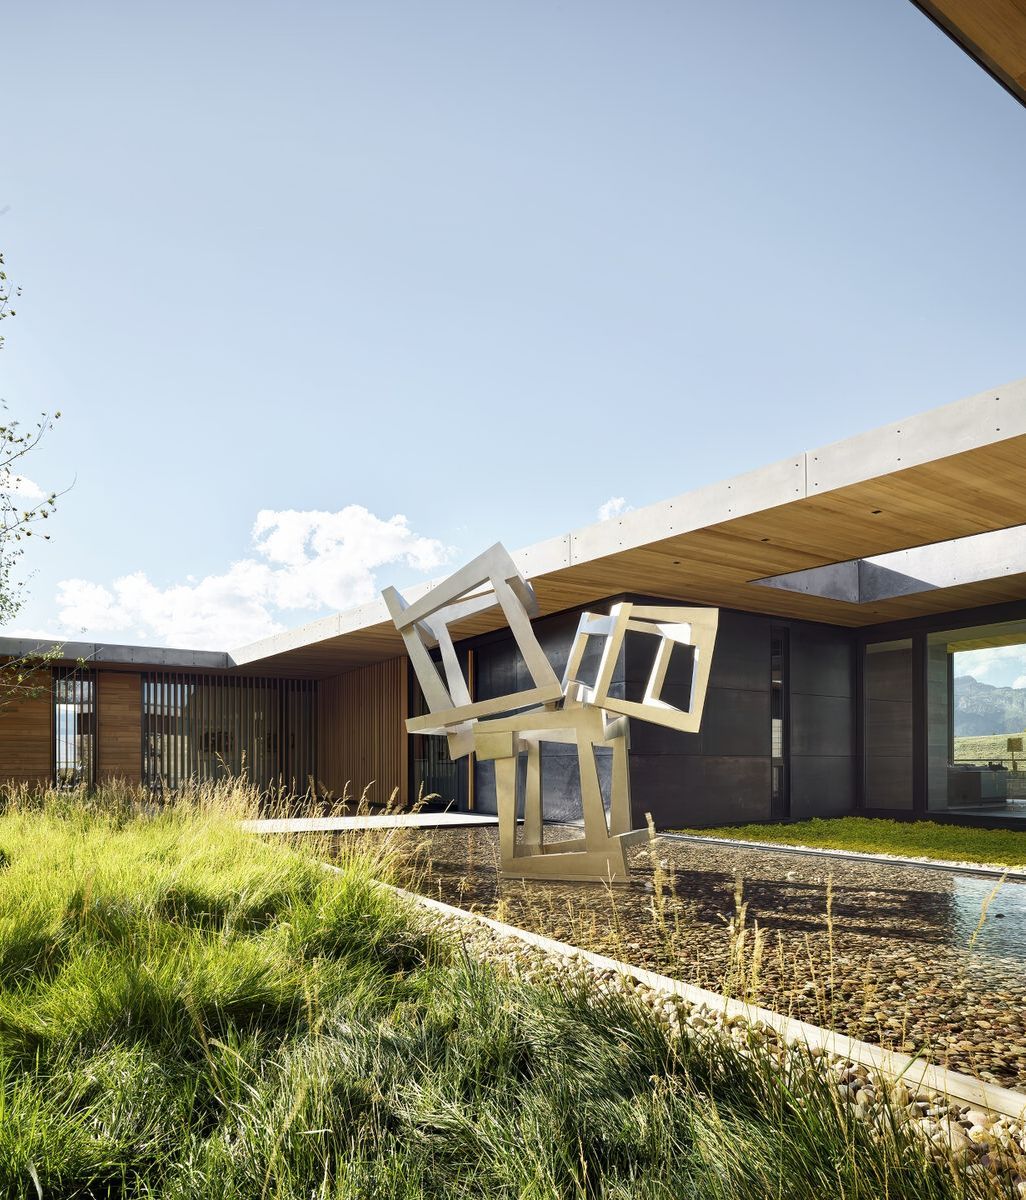
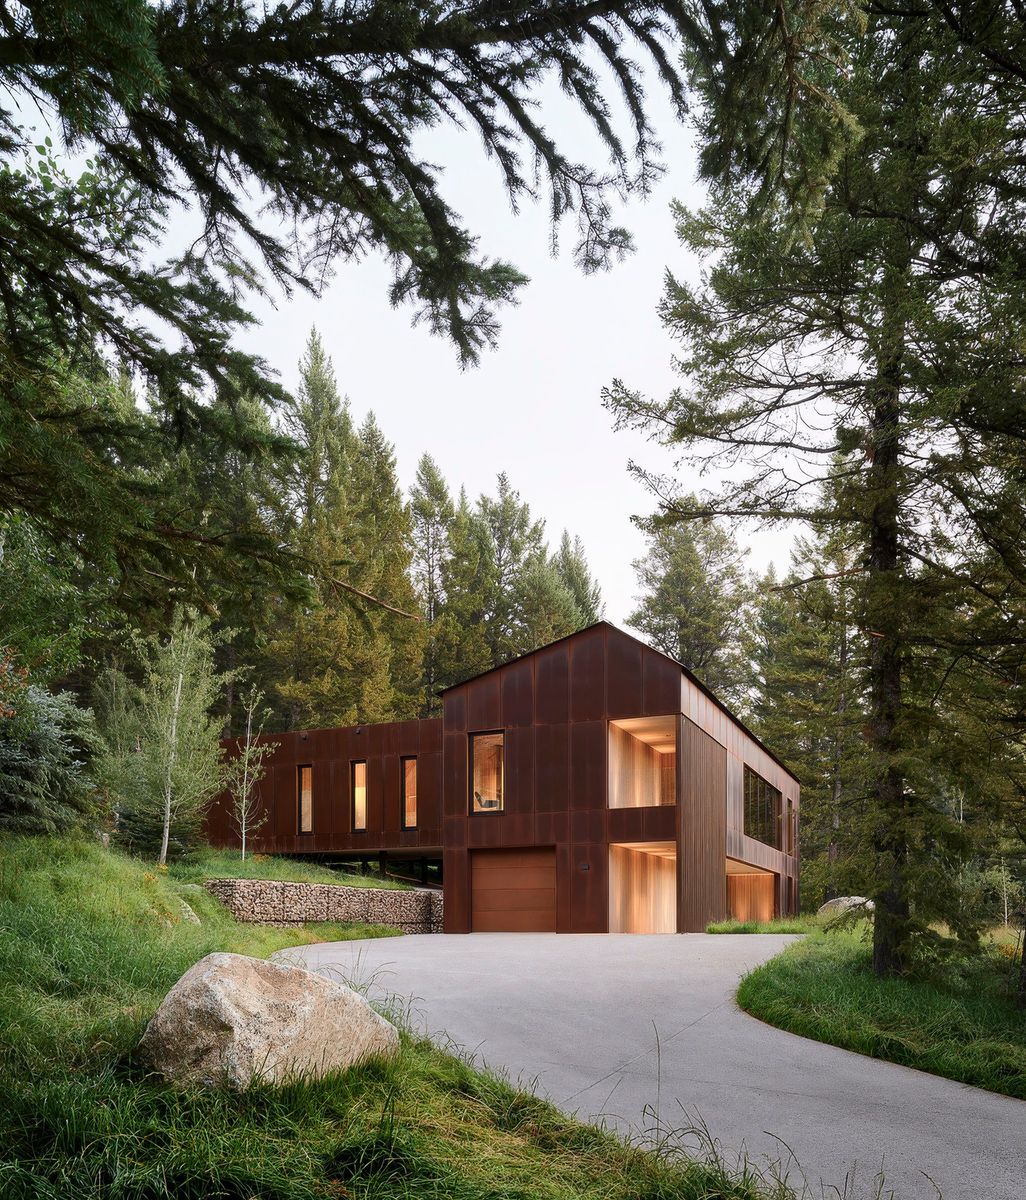
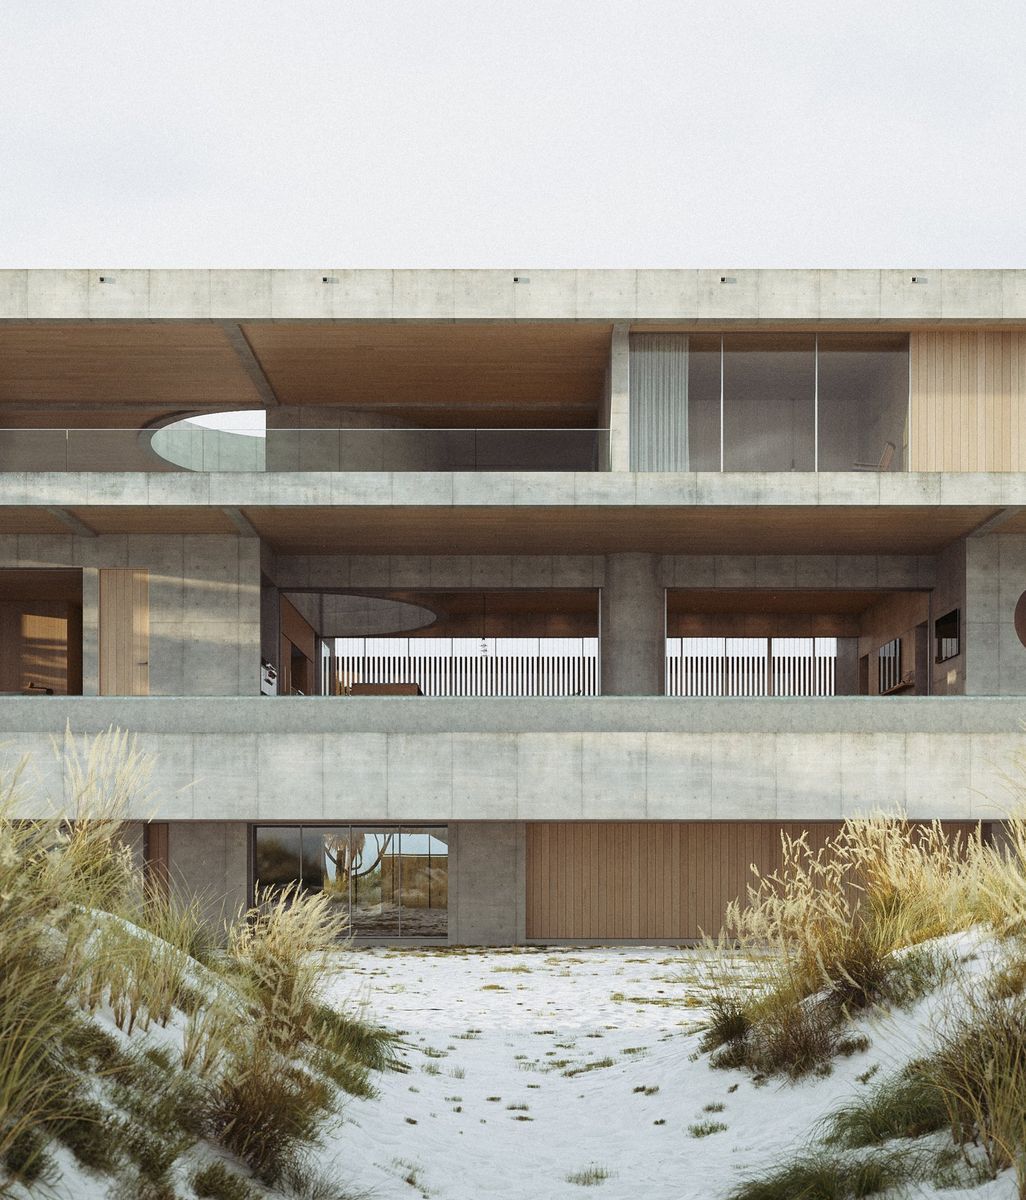
Trellis ceilings have become a go-to for creating a seamless transition between indoors and out in luxury residences. They carry materiality, rhythm, texture, and finishes across the threshold, helping spaces feel connected rather than separate areas.
Used well, they blur the boundary. Internal ceilings extend outward; outdoor areas feel more resolved, and the architecture reads as one continuous language.
Traditionally, this look has been achieved with solid timber arbors. But over time, maintenance, durability, movement, and span limitations have pushed designers to look for alternatives.
That’s where Wood Finish Aluminum systems come into play. You get the natural warmth and linear expression of wood, with far greater certainty in performance.
This guide focuses on linear or slatted trellis ceilings, and how to detail them so they perform as well as they look.
Where are Trellis Ceilings Used?
Trellis ceilings are most commonly used in outdoor settings, where the space needs definition without full enclosure.
In luxury residential projects, that typically means a pergola over a patio, pool areas and alfresco zones, introducing shade and creating a more resolved architectural outcome.
Key Considerations for Detailing a Trellis Ceiling
Solar Shading and Daylight Control
A trellis ceiling doesn’t just define a space; it actively shapes how light enters it.
Batten depth, spacing, and orientation all influence how much direct sun reaches the space below. Tighter spacing or deeper profiles create more consistent shade. More open spacing allows stronger light and shadow play.
Orientation matters just as much. In west-facing conditions, a trellis can reduce heat gain in the late afternoon. In other orientations, it can be adjusted to allow more or less sunlight depending on how the space is used.
A trellis ceiling needs to perform over time, not just look good on day one.
Adjust spacing and depth to control shade levels
Reduce glare and heat load, not just create pattern
Coordinate with broader facade and shading strategies early
Wind Noise
Wind passing through a trellis can create noise if not considered early.
This is caused by air moving across repeated battens, creating pressure fluctuations. If those fluctuations match the natural vibration of the battens, it can produce a humming or howling sound.
End caps help reduce this by closing off the batten profile and limiting internal resonance.
Connection detailing also plays a key role. Our connection systems include rubber washer dampeners which act as isolators, preventing metal-on-metal contact and reducing vibration transfer into the structure. This eliminates the rattling or clacking that can occur in exposed conditions.
Use profiles that disrupt airflow
Avoid perfectly uniform spacing where possible
Isolate battens from the structure
Include engineer’s wind assessment
Fire Compliance
Material choice directly impacts fire performance.
Aluminum battens are non-combustible and achieve high fire ratings, which makes them well suited to projects in wildfire-prone regions, including areas classified within the Wildland-Urban Interface (WUI).
All Sculptform aluminum finishes meet ASTM E84 Class A and are non-combustible under ASTM E136.
Most solid wood species achieve Class B or C without treatment. Final performance depends on species, size, and coating, so this should be confirmed before specification.
Structural Performance
A trellis ceiling needs to perform over time, not just look good on day one.
Confirm span and deflection with a structural engineer
Allow for thermal movement across long runs
Design for wind uplift, not just gravity loads
Check cantilever limits based on exposure
Snow Loads
Snow load is one of the most commonly overlooked factors in outdoor trellis applications.
Even though the system is open, snow can bridge across battens if spacing is tight enough. When that happens, the ceiling needs to be designed as if it were solid.
Confirm site-specific snow load with a structural engineer
Assess batten spacing relative to depth
Design for worst-case snow build-up where required
Why use Click-on Screens for a Trellis Ceiling
Click-on Screens are designed for applications where the system is visible from all angles.
Fixings are discreet, with no exposed screws or fasteners. From below, only the batten faces are visible.
Clips are set out in the factory at the required spacing, so installation becomes a matter of fixing tracks and clicking the screens into place.
This reduces installation time, improves accuracy, and removes the need for per-batten setout on site.
Available in wood and Wood Finish Aluminum for a wood aesthetic with the certainty of aluminum.
Trellis Ceiling Detailing
There are three primary ways to detail a trellis ceiling using Click-on Screens. Each creates a different architectural outcome and should be considered early.
This is the most common approach. Battens sit within the structural depth of the pergola, creating a clean, integrated ceiling where the structure and trellis read as one. Best suited when you want a refined, flush appearance.
Back-Mounted Under the Structure
Battens are mounted below the pergola structure, creating a floating ceiling effect. This allows the structure above to disappear from view, showcasing the trellis ceiling battens. Best suited where the trellis ceiling battens are a feature and to create a more seamless interior-to-exterior transition on the same plane.
Top-Mounted Above the Structure
Battens sit above the supporting structure. This allows the structure to remain visible from below while maintaining a consistent trellis plane above. Best suited where the structural frame is a feature of the design.